
Reading a Tape Measure Can Be Easy If You Know What to Look For
Learning how to read a tape measure is one of the first things any Pro or DIYer has to learn. If the old adage “measure twice, cut once” is true, you’ll never get an accurate cut if you don’t know what you’re reading.
Looking for Something Specific? Jump to These Sections!
- Parts of a Tape Measure
- How to Read Imperial Measurements (inches and feet)
- How to Read Metric Measurements (millimeters)
- How to Read Special Markings
- Tips for Reading a Tape Measure Accuratey
Parts of a Tape Measure
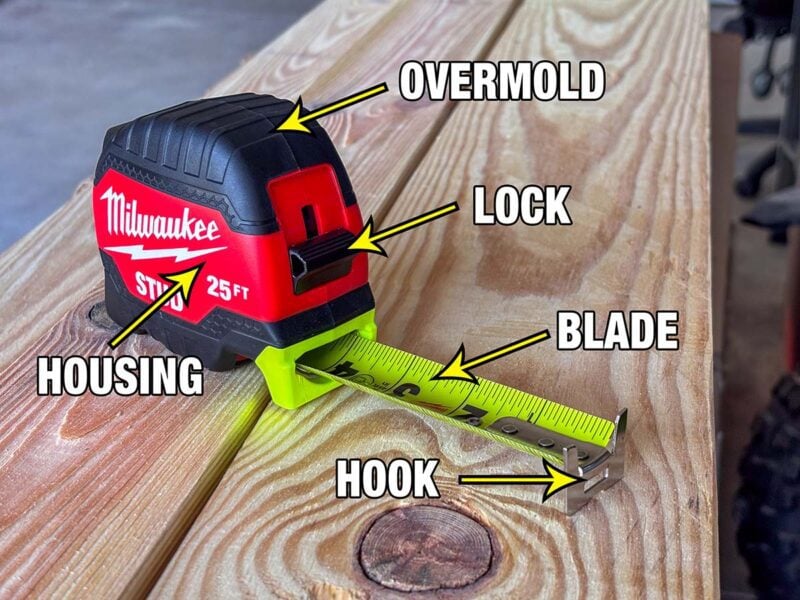
Before we look at reading the tape measure, let’s go over some of the basic parts. Tape measures may differ in how some of these parts and features look, but most fall into these general categories:
- Hook: the end of the tape that grabs or pushes against material
- Blade: the “tape” in a tape measure that has the measurements printed on it
- Housing: the plastic or metal case that the blade rolls back into
- Lock: the sliding piece on the front of the tape that stops it from coming back in when you press it down
- Clip (or Belt Clip): a metal piece on the side that clips the tape to your belt, pocket, or bag
- Overmold: rubberized material on the housing that adds comfort and drop protection
How to Read a Tape Measure in Inches and Feet
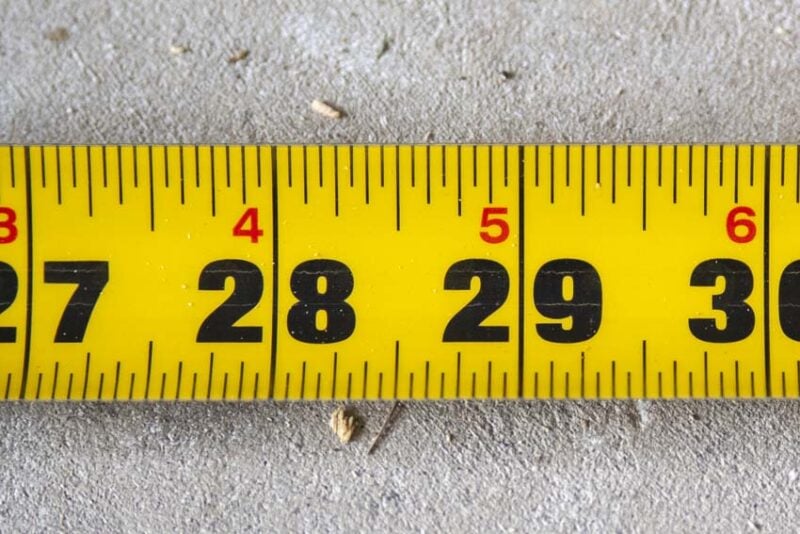
Tape measures do their most basic work in inches and feet, at least in the US market. These are the clearest, boldest markings you’ll see. Starting at the hook, it has number markings for every inch, followed by additional numbered markings for every foot.
Once you get beyond 1 foot, the inch markings keep going up with 13, 14, 15, etc rather than starting over at 1. Some tapes have an additional smaller number that goes with the last foot mark you hit. For example, it might show you that 22 inches is also equal to 1 foot, 10 inches.
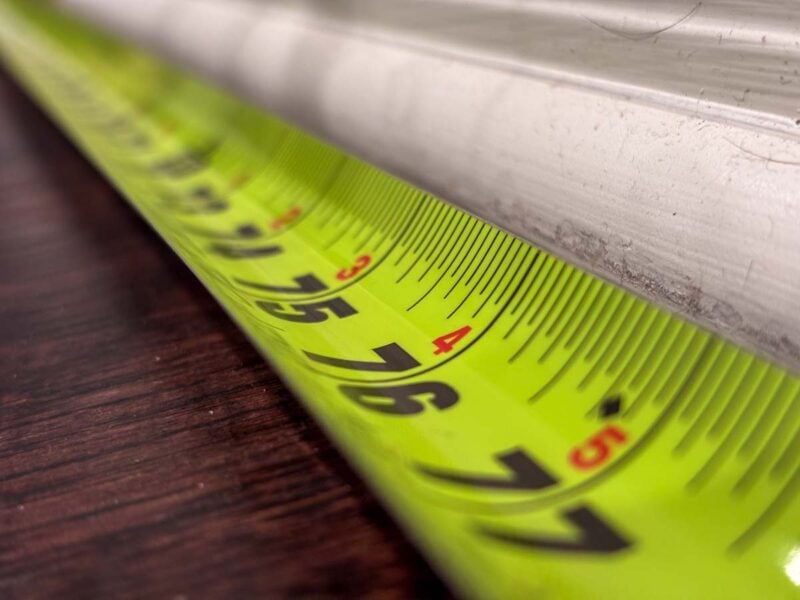
In between each full blade width inch marking, there are a series of smaller ones. They are different sizes to help you easily identify which is which. Some tapes even have fractions printed on them, making them easier to read.
When you’re learning how to read a tape measure, note the majority break each inch into 16 sections. In other words, you can read a tape measure with 1/16-inch accuracy. The 1/2-inch mark is the longest, followed by the 1/4-inch marks, then the 1/8-inch marks. The 1/16-inch marks are the shortest. Reading from the beginning of an inch forward, here’s what the pattern looks like (the marks will be solid on the blade):
- — 1/16
- — 1/8
- — 3/16
- —- 1/4
- — 5/16
- — 3/8
- — 7/16
- —– 1/2
- — 9/16
- — 5/8
- — 11/16
- —- 3/4
- — 13/16
- — 7/8
- — 15/16
How to Read a Tape Measure In Millimeters (mm)
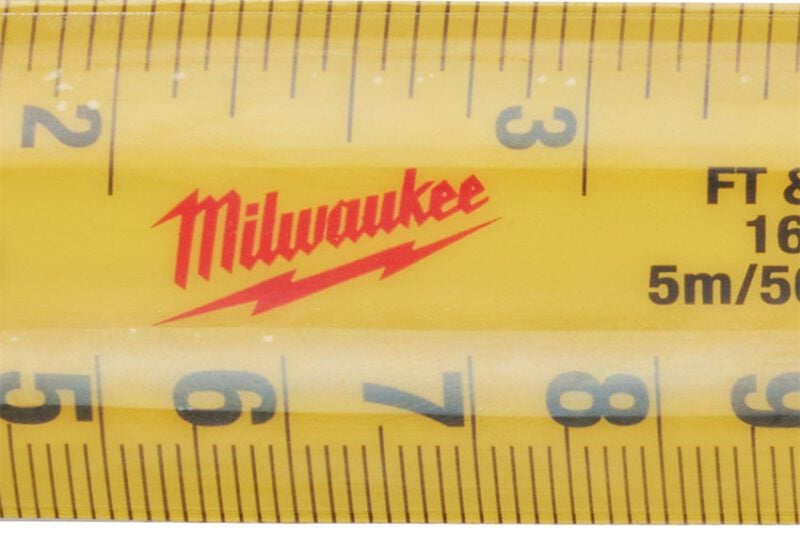
If you’re learning how to read a tape measure in millimeters, things change a bit. Metric tape measures break down into 10 millimeters for every centimeter. Counting up just like a standard tape, these don’t have indicators for feet, but every 10th centimeter is red or has some other way to stand out. They also may have meters marked
As you read between each centimeter mark, every short mark is 1 millimeter and the 5th is typically longer to help your eyes find the middle easily. The nice thing is you’re not bouncing between different fractional denominators. The base 10 system is a far easier decimal conversion. 13 cm and 4 mm is simply 13.4 cm.
Some tape measures—not many—even provide both imperial and metric measurements on the same tape. While this can be handy, it also clutters up the visibility of the markings in my opinion. We rarely need both metric and standard at the same time. If you work with materials that require metric unit measurements—make sure you have at least one of these tapes handy. In either case—pay attention to the labeling on the tape itself and buy the right one!
How to Read a Tape Measure’s Special Markings
Why are Some Numbers Red?

There are a couple of special markings you might notice as you read your tape measure specifically for contractors. Every 16 inches (16, 32, 48…), there’s a bold, red, or colored-in mark that’s different from the others. These mark a standard 16-inch stud placement.
What Do the Black Diamonds Mean?
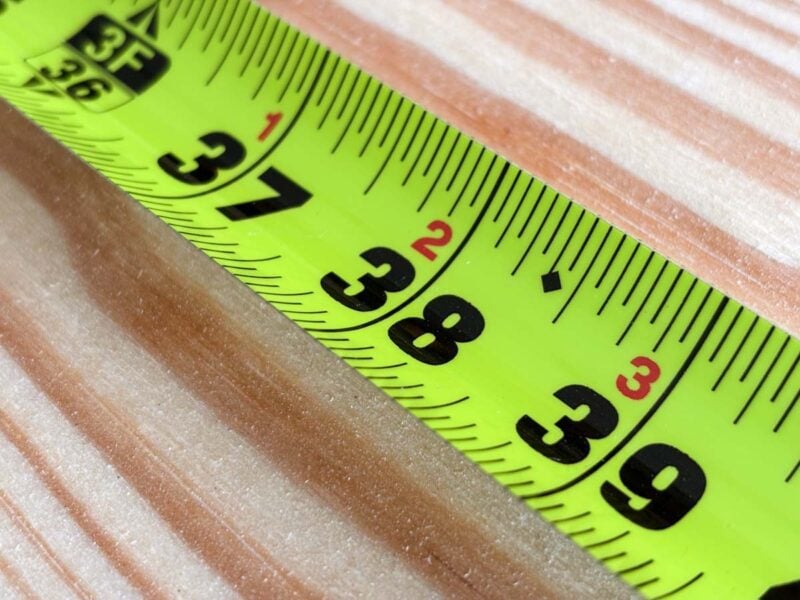
Then there’s the mysterious floating black diamond. The measures aren’t on an exact inch like the stud markings. These are at 19 3/16, 38 3/8, 57 9/16, and 76 3/4. They’re for setting trusses. Specifically, they’re for setting six trusses on an 8-foot span—the length of a sheet of plywood. The 0 mark and 8-foot mark make up two and there are four black diamonds in between.
While we aren’t going into detail on these, here are a few other special tape measure markings we’ve seen:
- Conduit bending guide
- Blueprint guide
- Engineer guide
- Yard markings
- 1/32-inch markings
Tips for Reading a Tape Measure Accurately
Why Does a Tape Measure Hook Hook Move?
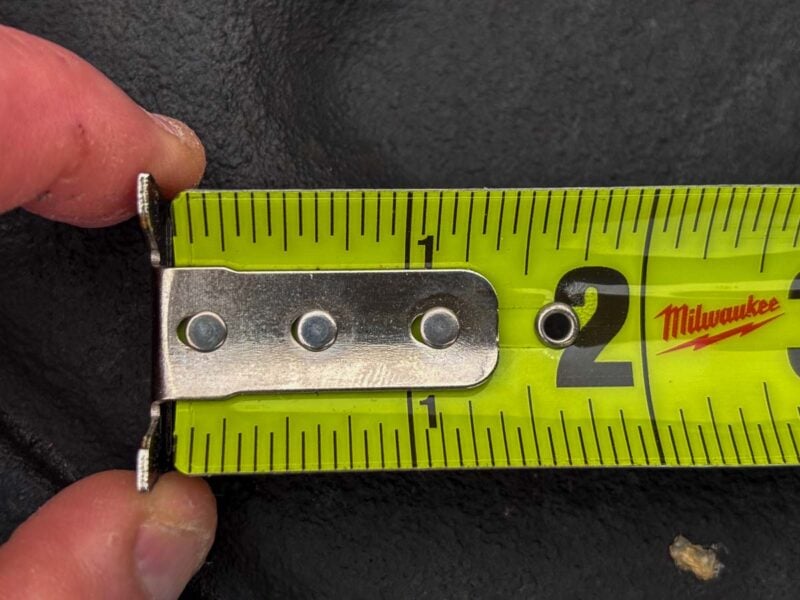
The hook slides back and forth at the front of the blade and that’s intentional. It slides the exact width of the hook so whether you’re pushing it against material or pulling from the side, you get an accurate measurement.
Just Roll with It
Tape measure blades have a natural curve to them, and that can be kind of annoying when you’re trying to read your measurement. To deal with it and get an accurate measurement, roll the blade until its edge is against your material.
Make Your Mark
Even if you read your tape measure correctly, it doesn’t do you much good if you mark your material inaccurately.
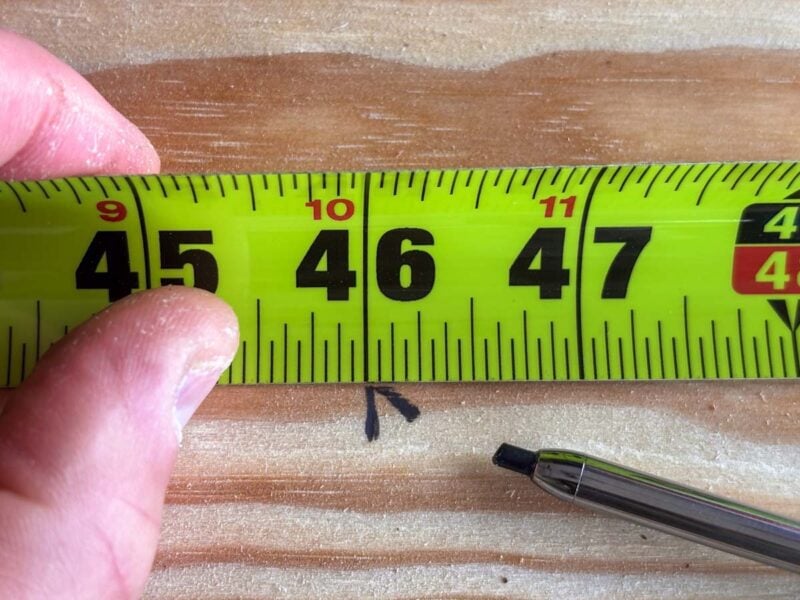
If you’re marking the dead-center of the measurement, make a carrot mark with the point right on the correct blade marking.
There’s a different technique if you’re making super-accurate cuts and making a left-of-measure or right-of-measure cut (usually to account for blade width). Start by making a mark straight out from the measurement you’re making. Then, add a second that angles out to the side you want to cut on as an indicator.
No matter which method you’re using, plan to make multiple marks across the material. For small boards, it might be just one mark on either side. For sheet goods, you might want to mark every foot or two. Once you have all your markings in place, you can use a straight edge to line them up and make a solid cut line.
Let it Go
Even the best tape measures eventually come to the end of their useful lives. Sometimes, it’s an issue with the housing or spring after too many drops.
Often, it’s the blade paint coming off or the markings begin to look like they’re rubbing off. When that starts to happen, there’s no stopping it, and it’s best to go ahead and replace your tape measure. After all, if you can’t read it, it’s not a very helpful tool.
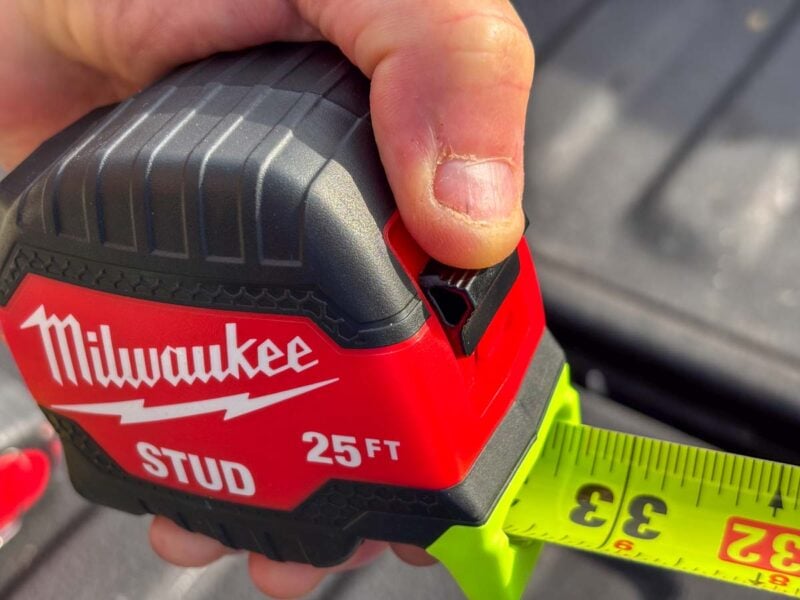
Like the tape measure we used in the photos? It’s the next-generation Milwaukee Stud, and we highly recommend it!
